Archiving Best Practices

Does this sound familiar? “I have photos on a bunch of old CDs, thumb drives, external hard drives, in albums and then there is my Dropbox, Google Photos, and maybe I’ve backed up to iCloud…help, I am overwhelmed!” Before you can start to organize your photos, you have to get them ALL into one place. During week one we will focus on gathering your photos.
Even if you aren’t ready to physically gather them, making a list is a useful first step, and you’ll be more prepared when the time is right to embark on the organizing.
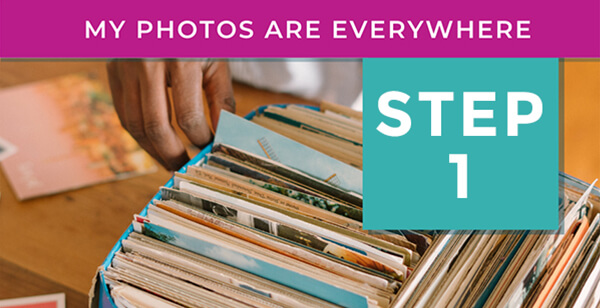
Locate all your photos, slides + videos.
Let’s start with a list of all the places you are storing your printed photos and slides. Include photo albums, framed photos, photos in drawers or boxes or closets, or even storage units. A written list of locations will serve as a checklist when you gather them.
Make a list of all the places you have digital photos. Include old phones, computers, memory cards, and CDs/DVDs. Add usernames and passwords to photo websites where you’ve uploaded pictures.
Home movies should be part of what you’re saving! Make a list of the types you have (Super 8, VHS tapes, camcorder tapes, etc.) so you can make a plan for converting them to digital.

Ask family members!
Get the family involved in tracking down your photos. Ask relatives where their photos are and make a plan to include them in your photo organizing project.
Estimate.
How many photos do you have: 10,000 or 100,000? Knowing the number helps you plan the scope of the project. A shoebox = 600 – 800 photos; 1 GB = about 560 JPGS; the average photo album = 200 photos.
Be selective. Keep only the best of the best!
Are you finding lots of duplicates as you go through your photos? Toss or delete doubles, blurry shots, and most scenery-only photos. Edit your collection down to a manageable size! You may end up getting rid of 50% or more.

Plan for the digitizing process.
You’ve found your photos, but now what? You need a plan. This week, we’ll explore creating a photo legacy by understanding what’s most important to you. What are your photo goals and what would success look like? Then strategize a plan to digitize and back up your photos.
Even if you’re not ready to do the actual organizing, thinking through these decisions about your photo legacy means you’ll be prepared whenever the time is right to start.
Digitize + Back up
The best backup for your printed photos is to scan them by sending them to a trusted local archiving expert. Don’t risk loss, damage or theft of your precious memories by sending them away to a big box online service.

Next Steps
You’ve found your photos, have a plan, and know the stories. Now it’s time to share. The options for printing photos are endless, from framed prints and photo gifts to photo books. Online galleries make it easy to share digitally. Look for ideas to bring your photos back to life by getting them into your everyday life.
Even without starting to organize your whole collection, it’s easy to bring photos back into your life…choose recent favorites from your phone and get creative!
Plan ahead for holiday giving
Get a head start on your gift planning. Digitized family moments is an excellent gift idea for anyone in your family. Surprise family members with a digitized collection of memorabilia!
